HomeAbout the BlogMeet the ChefsMeet the EpicutiesMeal IndexContact Us
Showing posts with label 6 Months. Show all posts

Thursday, September 19, 2013

Little Elizabeth’s First Food

So I know that I am way behind on my Green “Milkshake” post, but in the meantime, let me share with you Epicutie Elizabeth’s first food…

photo (12)

WATERMELON!!!

This was not pureed and she was two weeks shy of 6 months! I would have never been so unscientific with little Frances or given her solids before 6 months or something that she had to chew herself, but something about surviving parenthood the first time makes you more confident the second time around and sometimes you throw caution to the wind!

Also, here is how we celebrated her 6 month birthday…

photo (13)

FROZEN YOGURT!!!

That one was her daddy’s idea.

And yes, both foods got a “Yummy in the Tummy” rating Smile.

Monday, November 14, 2011

Butternut Squash Fries

Who doesn’t love fries???  I know I certainly do!  And I love butternut squash, so this recipe is a win-win for me, its so good.  This is a great side to almost any meal, although we have a great suggestion to pair it with below.  Its also one of the earliest finger foods that you can start your baby on!

Ingredients:

  • butternut squash
  • seasoning of choice, such as salt, season-all, or my personal favorite, Tony Chachere’s

Steps:

  1. Peel the butternut squash with a vegetable peeler.Old Photos 100 (640x425)
  2. Slice the squash into fry form. For the bulb part, make sure to scoop out the seeds.Old Photos 106 (640x425)
  3. Line a baking sheet with wax paper and lay the squash pieces as a single layer.Old Photos 107 (640x425)
  4. If your baby is very young (at least, less than 8 months), set aside a bit of the unseasoned butternut squash, and season the rest for your family.
  5. Bake at 425 degrees for 20 minutes, turning the fries over at the halfway point.

Timing: Without seasoning, this can be introduced as early as 6 months.

Meal Suggestions: Consider pairing with salmon, which is so easy to make!  Simply sprinkle the salmon with the seasoning of your choice, and bake at 350 degrees for 20 minutes.  Timing of fish introduction varies, but I started Little Frances on salmon at 9 months.  Click HERE to gather more information to make your decision.

Old Photos 113 (640x425)Epicutie Rating: Yummy in the Tummy --- See right side of the page for descriptions

Little Frances loves these two together!

Also, don’t forget about our Fundraiser/Giveaway. For a donation of ANY AMOUNT (even $1), you can be entered to win a 13 cup Kitchen Aid Processor!  For details, click here:

Wednesday, October 12, 2011

Butternut Squash Puree

I realized we have never posted the basic Butternut Squash puree recipe!!!

Ingredients:
  • One Ripe Butternut Squash
Steps:
  1. Preheat oven to 400 degrees
  2. Cut squash lengthwise
  3. Scoop out seeds
  4. Place flesh side (squash meat side) down on a cookie sheet or in a casserole dish
  5. Add 1-2 inches of water to pan
  6. Place in oven for 35-45 minutes or until the skin begins to pucker and when a knife is inserted its soft.
  7. Allow to cool slightly.
  8. Scoop out meat and puree to desired consistency using water (not from the pan) or breast milk to thin as you feel necessary.
  9. Place in ice cube tray, cover and freeze for 24 hours.
  10. Remove cubes from tray and place in freezer bag for long term storage.
Storage: Refrigerator for 3-5 days; freezer for 1-2 months.

Difficulty: 1 out of 2

Timing: 6 months; this is a great food to introduce as a first or second veggie

Miscellaneous: This puree (without any thinning) can be used in a number of other dishes too!!

Epicutie Rating: Yummy in the Tummy--see right side of page for descriptions
Little Joy has always loved squash!!!

Thursday, November 4, 2010

Butternut Squash Apple Bake

I wanted to test out some seasonal foods with Little Joy while the foods are available very fresh. Here is the first in a series of fall foods!

Ingredients:
One Butternut squash
2-4 Apples (I use fuji)

Steps:
  • Preheat oven to 400 degrees
  • Cut butternut squash in half long ways (my husband has to help me do this---its HARD)
  • Remove/scoop out all seeds and fibers from squash
  • Place butternut squash in a pan cut sides facing up
  • Peel and dice apples
  • Place apple pieces in the squash where the seeds used to be
  • Pour water over the apple pieces until the place where the seeds are is filled with water and apples completely (you can sprinkle with cinnamon but talk to your doctor before introducing spices, Little Joy has a lot of digestion issues so she wont be getting seasoning for a long time)
  • Cook at 400 degrees for 40 minutes or until the squash is soft
  • Scoop out squash meat and apples
  • Puree and add water (or breast milk/formula) until it reaches the desired consistency
  • Allow to cool
  • Pour into your freezing method (I prefer to pour into ice cube trays and cover with plastic wrap)
  • Freeze until frozen solid (about 12-24 hours)
  • After frozen, place in freezer zip lock bags until ready to use (I like to save about 2 servings in the refrigerator)
**NOTE: one ice cube is about an ounce of food**


Timing: Many resources recommend introducing squash veggies around 6-8months months.

Storage: According to "Super Baby Food" by Ruth Yaron, this can be stored in the freezer for two months. Also, fresh whole squash itself (raw and uncut) can be purchased and stored in a dark, well ventilated area place for about 2 months.

Epicutie Rating: Somewhat Yummy--see right side of page for rating descriptions.
Epicutie Little Joy seemed a little confused about this food. Squash has a strong flavor, so I think it took her by surprise. Subsequent exposures revealed she loved it; it took about three or four tries before she loved it.

Miscellaneous: Nutritional information on Winter Sqaush

Difficulty:
3 out of 5 (difficulty is in cutting the squash!!!)

(From left to right) Baking Pumpkin, Acorn Squash, Butternut Squash

After cutting and scooping out the seeds

Prior to baking


Sunday, October 24, 2010

Green Beans

Green beans are a staple food in our family. We (my husband and I) eat them all the time--in every way shape or form: sauteed, boiled, canned, frozen, with toppins and without. We love them. So, it is imperative that Little Joy learn to enjoy green beans!

Ingredients:
Frozen Green Beans (organic as available)
You can use fresh of course, but since this blog is about our adventures, I wanted to share what I did
Steps:
  • Cook according to package directions (watch for any salts added), cook until tender!
  • Puree in your food processor of choice; the green beans will not get completely smooth like other foods we have posted about
  • Allow to cool
  • Pour into your freezing method (I prefer to pour into ice cube trays and cover with plastic wrap)
  • Freeze until frozen solid (about 12-24 hours)
  • After frozen, place in freezer zip lock bags until ready to use (I like to save about 2 servings in the refrigerator)
**NOTE: one ice cube is about an ounce of food**

Timing: Many resources recommend introducing green beans around 6-8months months. I introduced them at 6 months and then later discovered that many babies reject homemade green beans since they cannot be completely smoothed in the puree process. To test this theory, I am going to offer store bought green beans which ARE perfectly smoothed. I will post a blog about the results.

Storage: According to "Super Baby Food" by Ruth Yaron, green beans can be in the freezer for two months.

Epicutie Rating: Sour Puss--see right side of page for rating descriptions.
Epicutie Joy has been offered green beans 4-5 times. Although she takes 2-3 bites fine, she will not take more than that. Based on the discovery that many babies do not like homemade green beans until much later, we will wait to attempt green beans again until 7-8 months. Remember, if you do not succeed, try, try again!

Difficulty:
1 out of 5


Green bean puree, notice the texture

I learned that the foods are much easier to "load" in the ice cube trays if I place them in a measuring up to pour. It is also less messy :)

Saturday, October 23, 2010

Applesauce

Apples (and applesauce) are not only tasty, but it also goes good with many other foods (winter squash, cereals, other fruits). Do not be afraid to mix foods together and taste your baby's pallet! Here is some additional information about apples that is GREAT!

Little Joy loves apples, by themselves or mixed with other foods---its always a hit. However, Little Joy has shown a tendency to prefer apples warm or room temperature vs. cold. So, if your little one does not like them at first, try warming them to see what happens.

Ingredients:
Fuji Apples
Steps:
  • Wash, peel and core apples
  • Chop into medium sized chunks
  • Place in pan and fill with water just covering the apples(OR you can steam them, but I do not have a steamer so I boil)
  • Boil until tender (be careful not to boil too long since the nutrients will all come out if you boil too long)
  • Puree in your food processor of choice
  • Allow to cool
  • Pour into your freezing method (I prefer to pour into ice cube trays and cover with plastic wrap)
  • Freeze until frozen solid (about 12-24 hours)
  • After frozen, place in freezer zip lock bags until ready to use (I like to save about 2 servings in the refrigerator)
**NOTE: one ice cube is about an ounce of food**

Timing: Many resources recommend introducing apples around 6 months

Yield: 1/2 cup applesauce per apple

Storage: According to "Super Baby Food" by Ruth Yaron, applesauce can be in the freezer for two months.

Miscellaneous: I found that peeling them shortways rather than around in a circle was faster. But a warning---your hand will get sore after all that peeling!

Money Matters: Please keep in mind, these calculations are approximations and prices vary depending on where you live. The standard of living where I am at is signficantly higher than other places in the country. I bought 12 apples (about 5.5 pounds) for $7.99 which yielded approximately 56 ice cubes of applesauce; $.14 per cube. I guesstimate that it takes 2-3 cubes to equal ONE Gerber apple container. There are TWO containers packaged together when you buy Gerber applesauce; they cost about $1.09 per package here. SO...
.14 per cube * 3 cubes per container * 2 containers = .86 (this is how much it cost ME to make one Gerber applesauce package)
Total savings PER PACKAGE making at home vs. buying = .23
That does not seem like much until you think about baby eating one container per meal several times a week---it adds up!

Epicutie Rating: Yummy in my Tummy--see right side of page for rating descriptions. Epicutie Joy prefers apples warmed or room temperature. Also, when I made my second batch I left a little texture in them and she did NOT enjoy that at all.

Difficulty:
2 out of 5


I bought these two crates at Costco. $7.99 for 12 apples, about 5.5 pounds. I made one crate in the pictures below.

Peeling, coring and dicing the apples

There were two pots like this to make 12 apples worth of food.

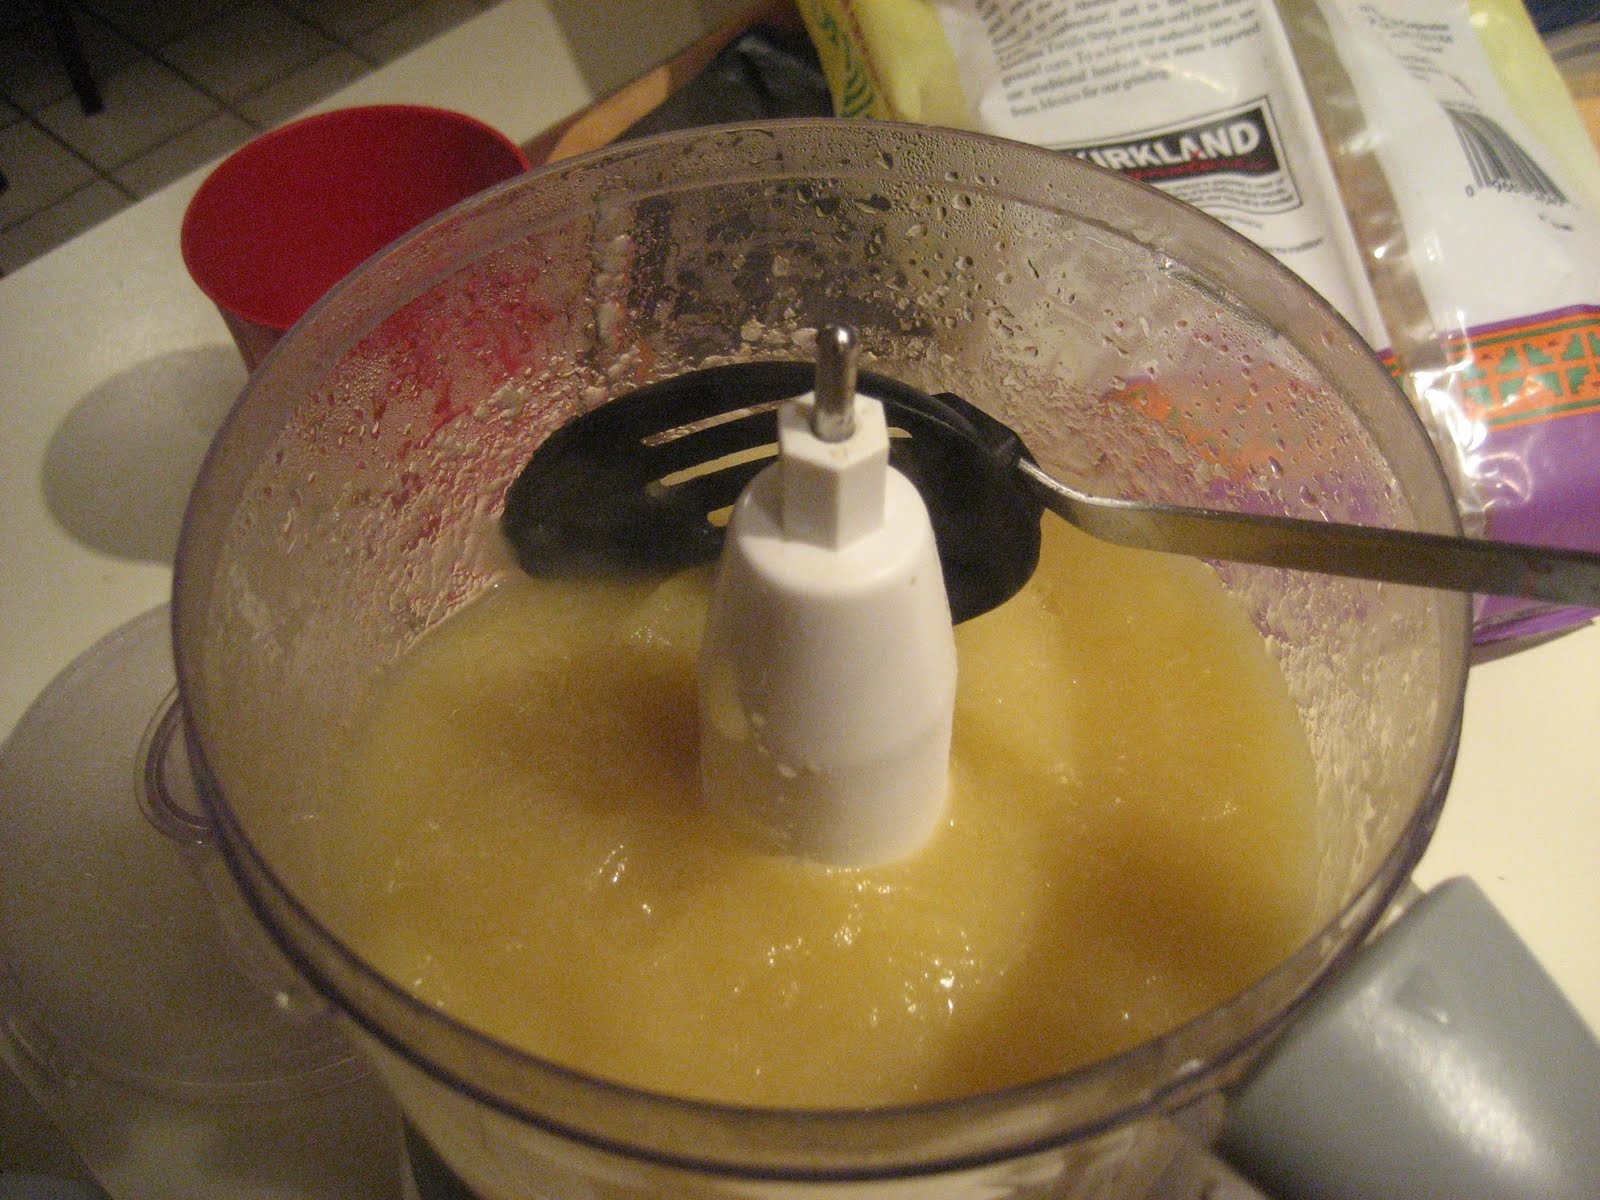
After cooking, pureed them until smooth.


I froze this many and reserved about 8 servings in the fridge or for my husband and I to eat (they are THAT yummy that we ate some)

Tuesday, October 19, 2010

Pear Puree

Making pear puree is simple, fast and tasty!

Ingredients:
Bartlett Pears (these are the yellow/greenish pears)
Steps:
  • Wash and peel pears
  • Puree in your food processor of choice
  • Pour into your freezing method (I prefer to pour into ice cube trays and cover with plastic wrap)
  • Freeze until frozen solid (about 12-24 hours)
  • After frozen, place in freezer zip lock bags until ready to use (I like to save 2 servings in the refrigerator)
Yield: 1/2 cup puree per pear
Storage: According to "Super Baby Food" by Ruth Yaron, pears can be in the freezer for up to a year and refrigerator 1-2 days.
Miscellaneous: Pears can mixed with many things to make foods more appealing (prunes, cereal, etc.). Pears are also good at moving the digestive system along!
Test Subject Rating: Yummy in my Tummy --see right side of page for rating descriptions (Little Joy has found a favorite food)
Difficulty: 1 out of 5


I am a warrior!


Little Tummy Yummies

About the Authors

This blog was started by two Babywise pen pals to document our adventures in high chair manners, making our own baby food and doing our bests to raise happy, healthy, thriving little ones!

Epicutie #1

Epicutie #1

Little Joy at 2 years, Sept 2012

Epicutie #2

Epicutie #2
Little Frances

Epicutie #3

Epicutie #3
Little Asher at 11 months, Sept 2012

Epicutie #4

Epicutie #4
Little Elizabeth, July 2013

  • Yummy in the Tummy: Epicutie thoroughly enjoyed each bite
  • Somewhat yummy: Epicutie seemed to somewhat enjoy the food at first, but seemed to like it less with subsequent bites
  • Not so sure I like it...yet: Epicutie somewhat rejected the first bites, but seemed intrigued. The next exposure may be better!
  • Confused: Epicutie rejected the first bites, perhaps due to texture or strong flavor.
  • Sour Puss: Epicutie gave a sour face indicating she did not like the food. However--if at first you do not succeed, try, try again!


  • Munchkin Land Designs Elements by Crisdam Designs

    Click Here for Other Awesome Giveaways!

    Labels

     
    Designed by Munchkin Land Designs • Copyright 2011 • All Rights Reserved