Pasta is always easy and fun for toddlers, so it's always on my short list. This recipe comes from Double Delicious by Jessica Seinfeld. Since the cheese is cooked and part skim we decided to try it on Little Asher, no horrible reactions just some lower stomach issues.
Ingredients:
- 1 (15 oz) can white kidney beans; drained and rinsed
- 1/2 cup canned pumpkin
- 1/2 cup part skim ricotta
- 1/4 cup grated Parmesan
- 3/4 garlic powder
- dash of salt
- 1 egg
- 72 wonton papers
- cornstarch
- Your favorite marinara sauce microwaved until warm
Steps:
- Fill a large pot with water and bring to a boil.
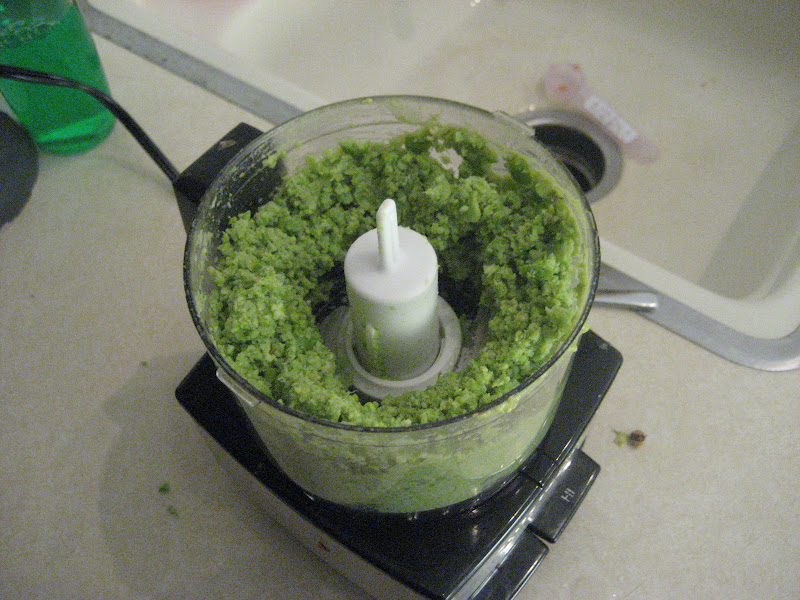
- Place beans, pumpkin, ricotta, Parmesan and garlic in a food processor and purée until smooth.
- In a small bowl beat the egg with a tablespoon of water.
- Sprinkle a baking sheet with cornstarch.
- Set wonton papers on a cutting board. Place one tablespoon of the pumpkin mixture into the center of the wrapper. Brush the edges with the egg wash. Top off with another wonton paper. Press firmly together.
- Place the ravioli on the baking sheet. When all the ravioli is ready, carefully place them in the lightly boiling water using a slotted spoon.
- As soon as the rise to the top of the pot, about five minutes, they are done. Divide among 6 bowls and top with marinara sauce. Serve immediately.
Tip: Next time I make these I will use ONE wonton paper and half the filling to make the ravioli smaller and easier for toddlers to pick up. I will fold the wonton paper in half vs using two papers per ravioli.
Storage: After cooking, 3-5 days in the fridge. I recommend refrigerating IN the sauce. I froze some uncooked ravioli a for quick meal in the future.
Timing: 10 months; super easy to chew!
Difficulty: 4 out of 5; It's only high on the difficulty scale because filling the ravioli is time consuming and once out start making this recipe you can't really stop for long.
Epicutie Rating: (see left side of page for descriptions)
- Little Asher: Yummy In The Tummy; holy gobble fest!!!!! After I cut I the ravioli he devoured three!
- Little Joy: Yummy In The Tummy; Little Joy quickly ate two ravioli without prompting. She even loved it left over. Little Asher wasn't as big a fan of the left over version :)
- Kelly: love it!!!!!!
.JPG)
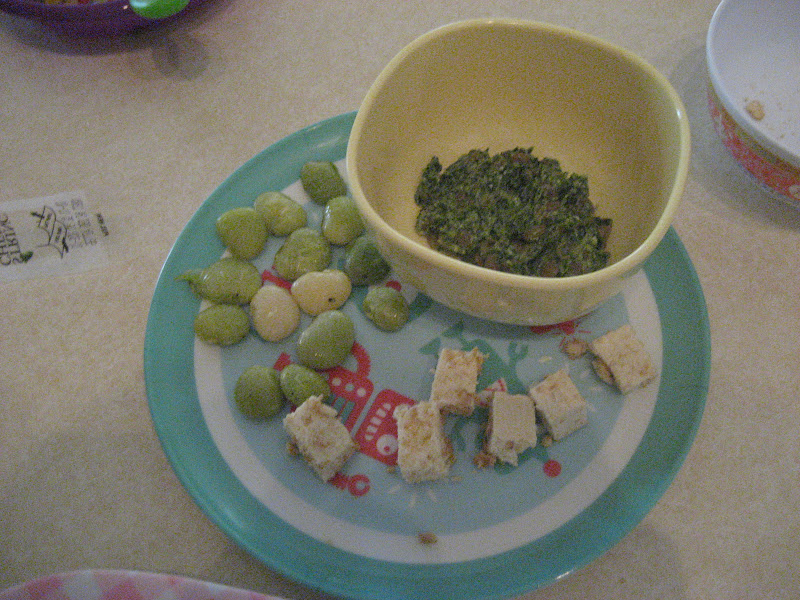
Ready to serve
.JPG)
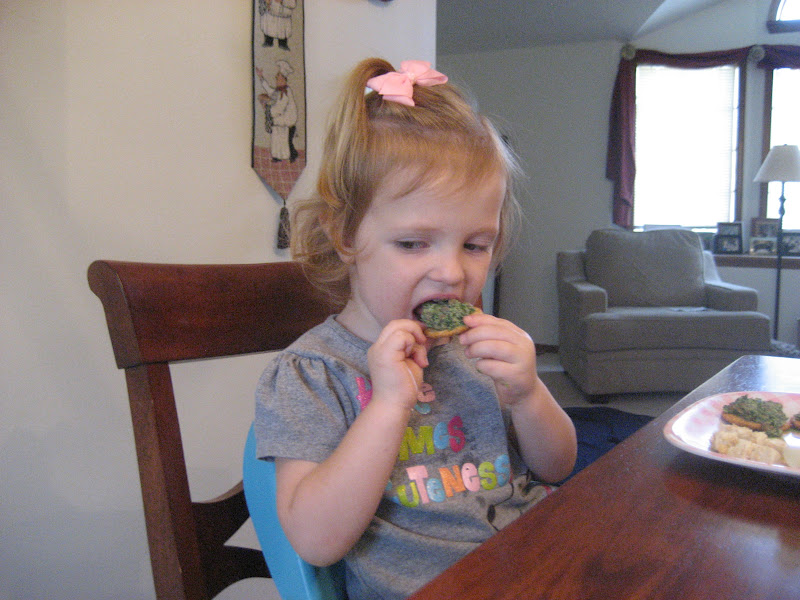
Cutting her first bit; this was a messy food---bib required this time!
.JPG)
Trying it!
.JPG)
"HMMM Mommy!"
.JPG)
I didnt get his first reaction but as soon as I took Little Joys picture---look how much he had eaten!
.JPG)
MORE!!!